
The Next Steps section allows you to capture actions agreed during a review, helping ensure accountability and alignment on what has been agreed and who is responsible.
Adding Next Steps keeps all follow-up actions in one place and supports alignment across your team and your clients.
Adding Next Steps to your Review:
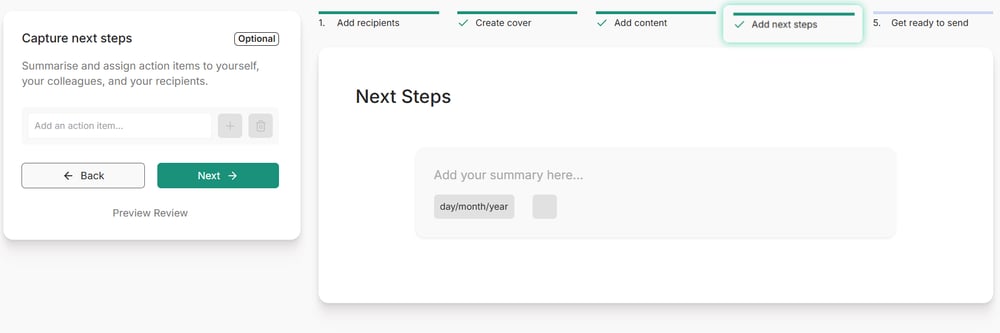
Step 1: Where to find Next Steps section
-
Next Steps is the fourth step in the review creation process. This step is optional and can be used as needed.
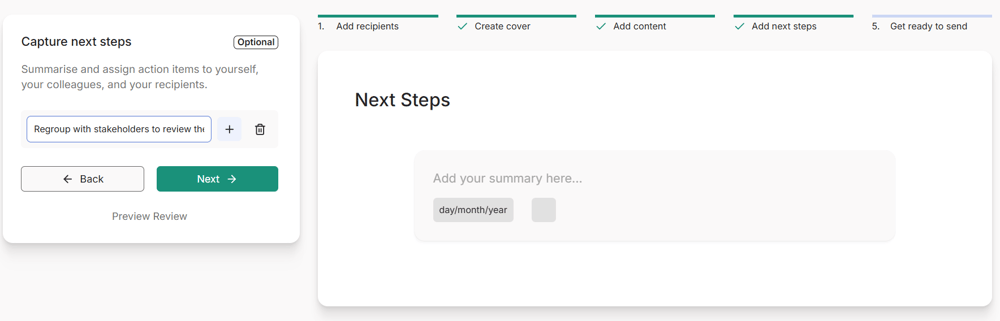
Step 2: Add Next Steps details
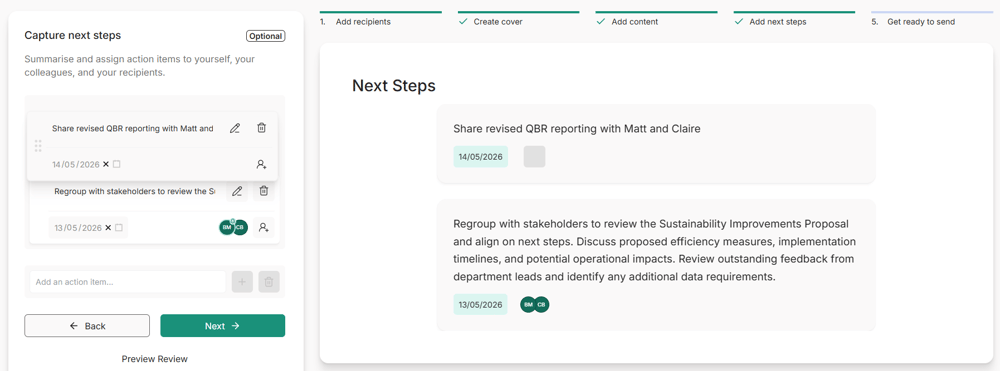
Use the input field on the left to add next steps one at a time. As you submit each action, they will appear in the centre of the screen, allowing you to preview the final version and decide whether any edits are needed. There is no character limit for titles, so you may include as much detail as required.
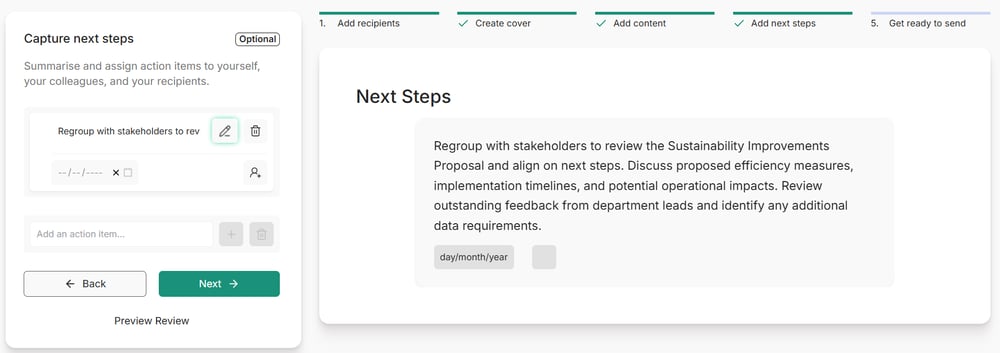
- For each next step, you can also optionally include:
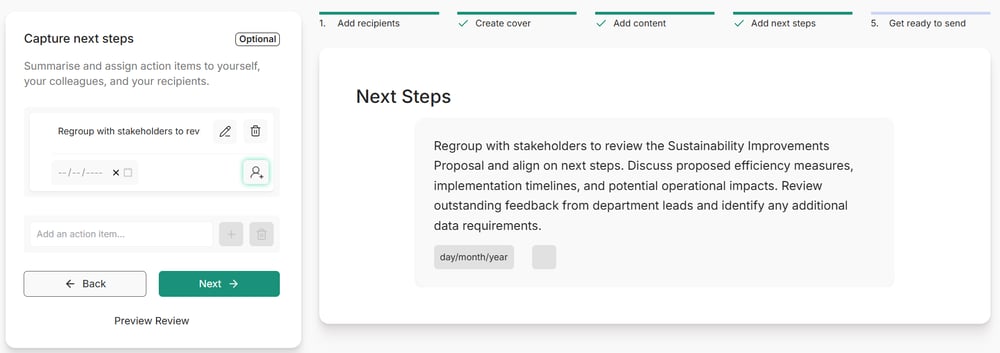
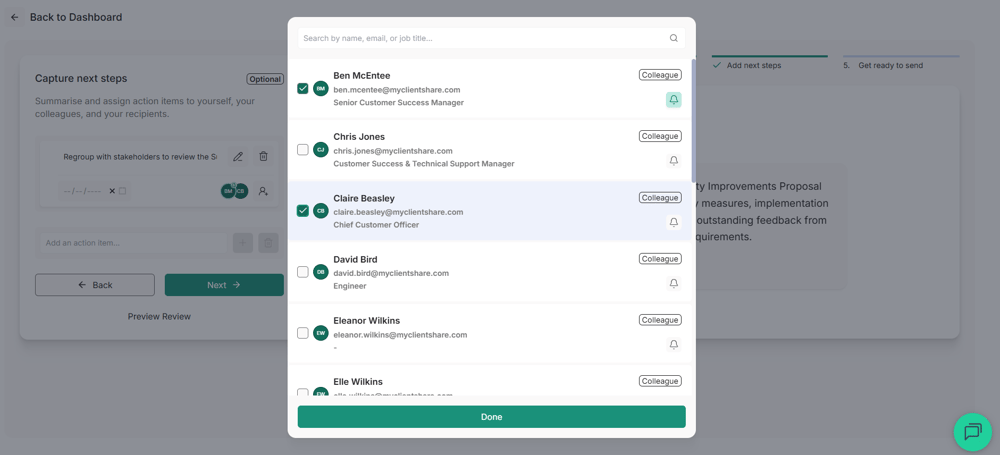
- Owners – yourself, colleagues, or clients, whether or not they are review recipients (as long as they are included in the account recipient list). This provides flexibility for actions involving stakeholders beyond those directly included in the review.
Please note: you can optionally notify each assigned owner via email. This adds an extra layer of visibility for the person responsible for the action. To do this, select the bell icon next to the relevant owner.
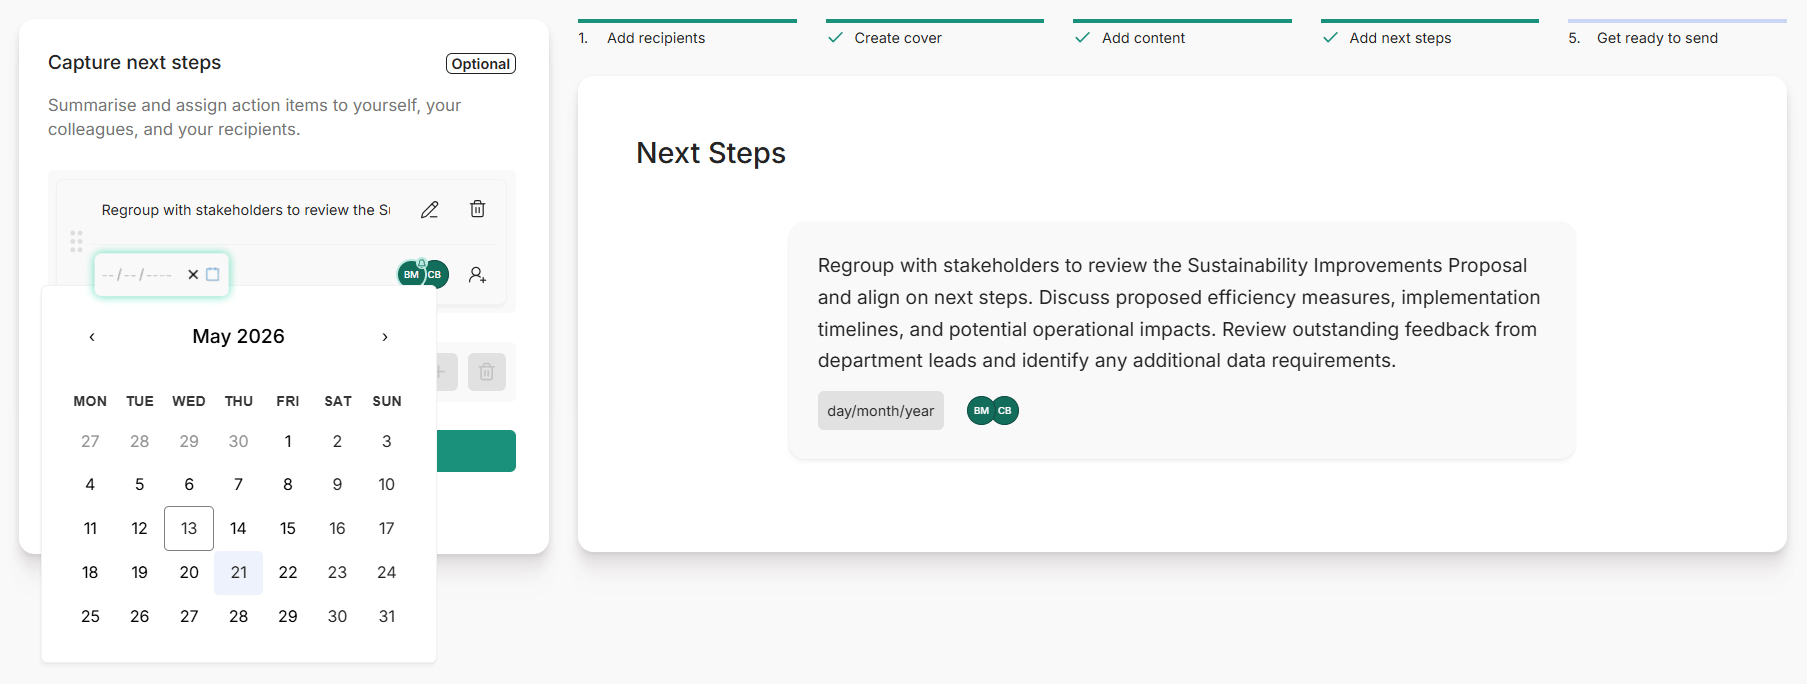
Deadline
Step 3: Organise and Save your Next Steps
- Drag and drop actions to reorder them from the left hand side view. This controls how they will appear in the final review.
- Make sure to click the “Next” button once you’ve finished entering your next steps. This is required to save the information you’ve added; otherwise, your changes will not be retained.
Read more:

How to use Pulse Share-to-Many

