
This article will cover how your organisation can set up Single Sign On (SSO), and how your users can log in using SSO.
Benefits of enabling SSO
- Improved user experience: easy access to applications using the same password.
- Improved compliance with companies' security protocols: password complexity, rotation and MFA are controlled and enforced centrally on all users.
How to enable SSO
To enable SSO, you will need to do the following things:
- Reach out to our Customer Success Team about enabling SSO.
- Ensure you have contact details for someone from your team with admin rights to your user domain (This is so they can approve the SSO integration within your internal IT infrastructure).
- Have a user within your organisation that can test the SSO functionality once enabled.
Microsoft SSO is the standard SSO tool that we integrate with, but integrating with other options such as OKTA are also possible.
You may want to create a user group within your domain to allow specific users access to Clientshare. If this is the case, please arrange this prior to speaking with our Customer Success Team / testing the SSO functionality. If your organisation is already using Clientshare, we can provide a list of the users who currently have access to Clientshare.
Details of the SSO setup process will be outlined during contact between our Customer Success Team and your representative responsible for approving SSO permissions.
How to log in using SSO
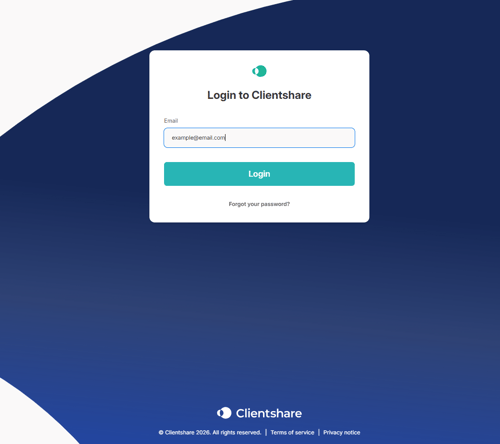
Once SSO has been enabled, all you need to do is go to the Clientshare login page and enter your email address that is associated with your Clientshare account.
If this email is correct, you will be taken to your native login page, where you will enter the credentials necessary to log in to your internal system (i.e. if Microsoft is your domain, enter your Microsoft credentials in order to log in).
For new invitations, users will be taken to the Clientshare login page and are only required to enter their email address as any other user would do when trying to log in.
If you encounter any error messages on the Clientshare login page after you have submitted your credentials, please contact support@myclientshare.com and we will do our best to resolve your issue.
Please note that you will not be able to use the reset password functionality on Clientshare as your login credentials are managed centrally by your internal IT team.
Read more:

How to use Pulse Share-to-Many

